Taking product photos without a studio: how to photograph your product well
,
by Verpakkingdeals.nl
6 min reading time
With natural light, a plain background, and a simple display, you can take product photos that sell. Plus the standard set of five photos per item.
Two sellers put the same silver necklace online. One places it on the kitchen table, takes a photo with the flash on, and uploads it crooked. The other places it on a white box by the window, hangs it on a stand, and takes five photos from fixed angles. The same product, the same price — and yet the second one sells within a week. The difference isn't in expensive equipment. It's in lighting, background, and the fact that your product is upright instead of lying flat.
Whether you run a small webshop or are just tidying up your closet on Marktplaats: your photo is your shop window. Below is a method you can set up with a phone and some items from your own desk, plus the tools that make all the difference for small products.
Start with the light you already have
The biggest gain doesn't come from a lamp, but from a window. Daylight is soft, color-accurate, and free. Set up your arrangement during the day next to a window with the side facing the light, not with the light behind your camera — that will give you flat, shadowless images.
Three rules that almost always work:
Flash off. A phone's flash creates harsh shadows and discolors metal and gloss.
No direct sunlight. Bright sunlight blows out whites and creates black spots in the shadows. A thin sheer curtain or a cloudy day is ideal.
One light source. Turn off the ceiling light. Daylight and a yellow lamp together create a color cast that you won't be able to properly remove afterwards.
Is your product in shadow on one side? Place a sheet of white paper or a light-colored box opposite it. That will reflect light and fill in the shadow. That's the whole trick behind most webshop photos.
Background: plain almost always wins
A cluttered background costs you attention and trust. Choose one plain background and stick with it for your entire assortment — that makes your page calm and recognizable. White works for colored products, a dark background for light or glossy items.
You don't need to buy anything special for this. An unfolded box, a sheet of cardboard, or a plain tea towel will suffice. It is important that the background is continuous: let the surface behind your product curve upwards against a wall or book, so there is no visible crease line between the table and the background.
Stand your product upright — displays do the work
Small items lying flat on a table look smaller and cheaper than they are. As soon as you stand them upright or elevate them, they gain shape and shadow. For anyone who regularly takes photos of jewelry, pins, keychains, or cosmetics, this is the point where a simple display pays for itself.
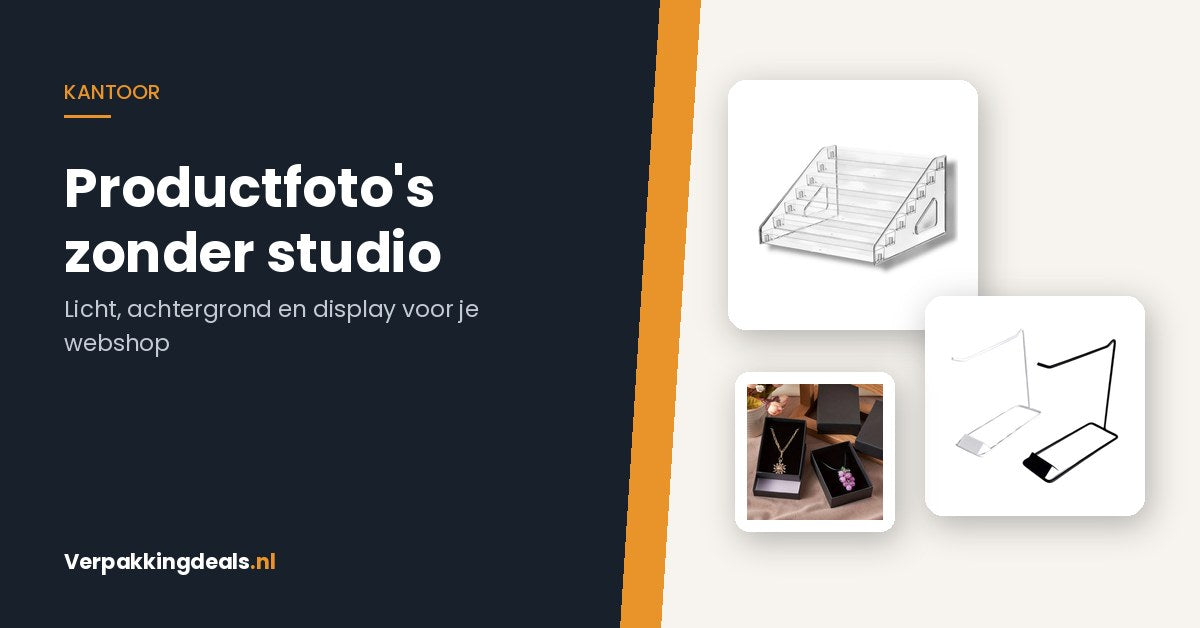
Acrylic Stair Display Transparent – 6 Steps — €34.95. Transparent acrylic practically disappears in the photo, allowing you to show multiple variants side-by-side without the stand stealing attention.
Metal Display Holder for Keychains — from €17.95, in black or white. Intended for the counter, but just as useful for photographing hanging items at eye level.
If you're photographing with your phone, a stand for the device itself is at least as useful. A fixed position means all your photos will have the same height and angle — precisely what makes a product page look calm. The Foldable Phone Holder Marble - Blue costs €7.95 and fits in a drawer; the Manga Phone Holder 21 x 7 cm (€39.95) is sturdy enough to remain on your desk.
The fixed set: five photos per product
Decide once which photos you'll take of each product and repeat that sequence. This saves you a few minutes of hesitation per item and makes your offering consistent.
Photo
What you show
1. Main image
The entire product straight from the front, centered, on a plain background
2. From a diagonal angle
Shape and thickness — this is the photo where a product becomes "real"
3. Detail
Clasp, seam, print, material; everything a buyer asks for
4. Scale
Next to a recognizable object or in hand, so the size is clear
5. Honest
Scratch, wear, or missing part — not optional for second-hand items
That last photo feels counterintuitive, but it prevents discussions and returns. A buyer who knows what they're getting beforehand won't complain afterwards.
Packaging as decor — and as a product
A small item lying in a box looks complete. You don't need to buy separate props for this: packaging you already use serves a dual purpose. A Black Jewelry Box 9 x 6.5 x 2.8 cm costs €2.95 and immediately provides context for a ring or earring. If you want to keep the product visible, the Black Flat Gift Box with Window 12.5x8.5x1.5 cm (€1.99) is handy: the window shows the contents in the photo and at the customer's home.
However, make sure that the packaging doesn't overpower the product. One box in the picture is decor; three boxes are a still life where no one can see what's for sale anymore.
After the photo: pricing and shipping
Photography is step one; the rest of the chain must run just as smoothly. If you sell physically and online from the same stock, a price sticker keeps things organized. The MX-5500 Red Pricing Gun comes with 5500 stickers and 2 ink rolls and costs €24.95.
And once sold, you don't want to be looking for a box. For the small, flat items you photograph in this way, a letterbox size is usually sufficient: the Recycled Letterbox Box 180 x 115 x 28 mm (A6), bundle of 100 pieces costs €17.95 — converted to a small €0.18 per shipment.
Your setup is ready in half an hour
Clear one corner of a table by the window, lay down a plain sheet, set up a display and your phone stand, and leave it there. The threshold for photographing a new item drops from "I'll do it this weekend" to two minutes. Ultimately, that's the real difference between ads that stick around and ads that sell.
Displays, boxes, and stands can be found under Storage and Gift Packaging & Gift Boxes. Everything for the next step — boxes, tape, and envelopes — is under Packaging & Shipping, and loose office supplies are under Office Supplies. If you're unsure which box suits your product or would like advice on larger quantities? Feel free to email info@verpakkingdeals.nl — we're happy to help.
Choosing a USB hub for working from home: 2.0 or 3.0, how many ports, and with switches
· 3 min reading time
Choosing a USB hub for working from home: 2.0 or 3.0, how many ports and with switchesYour desk needs three USB devices, but your laptop only has two ports. Or...
Power outages in autumn: emergency supplies you'll actually use
· 2 min reading time
Autumn Power Outages: Emergency Supplies You'll Actually Use October to December. Heating isn't in full swing yet, but the nights are getting long and cold. If a power outage strikes...
Choosing a power bank: capacity, charging speed, and weight compared
· 2 min reading time
Choosing a Power Bank: Capacity, Charging Speed, and Weight Compared Your phone dies when you're out and about. The classic emergency solution is a power bank. But what capacity do...